Building a Homelab, Part 1 - Rackmounting and DNS
June 25, 2023 | 20 min. read
This is the first update post in a series I'll be doing on my homelab. If you would like some background and haven't read the first post, please do so!
I finally got around to ordering a server rack and a shelf to get everything off of the floor. I also got a rack-mountable power supply, because I was running out of sockets in the spare surge protector I was using. The rack-mountable one also has much better spacing between its sockets for chunkier power adapters, so I have a little more room to grow now. Here it is, in all its glory:
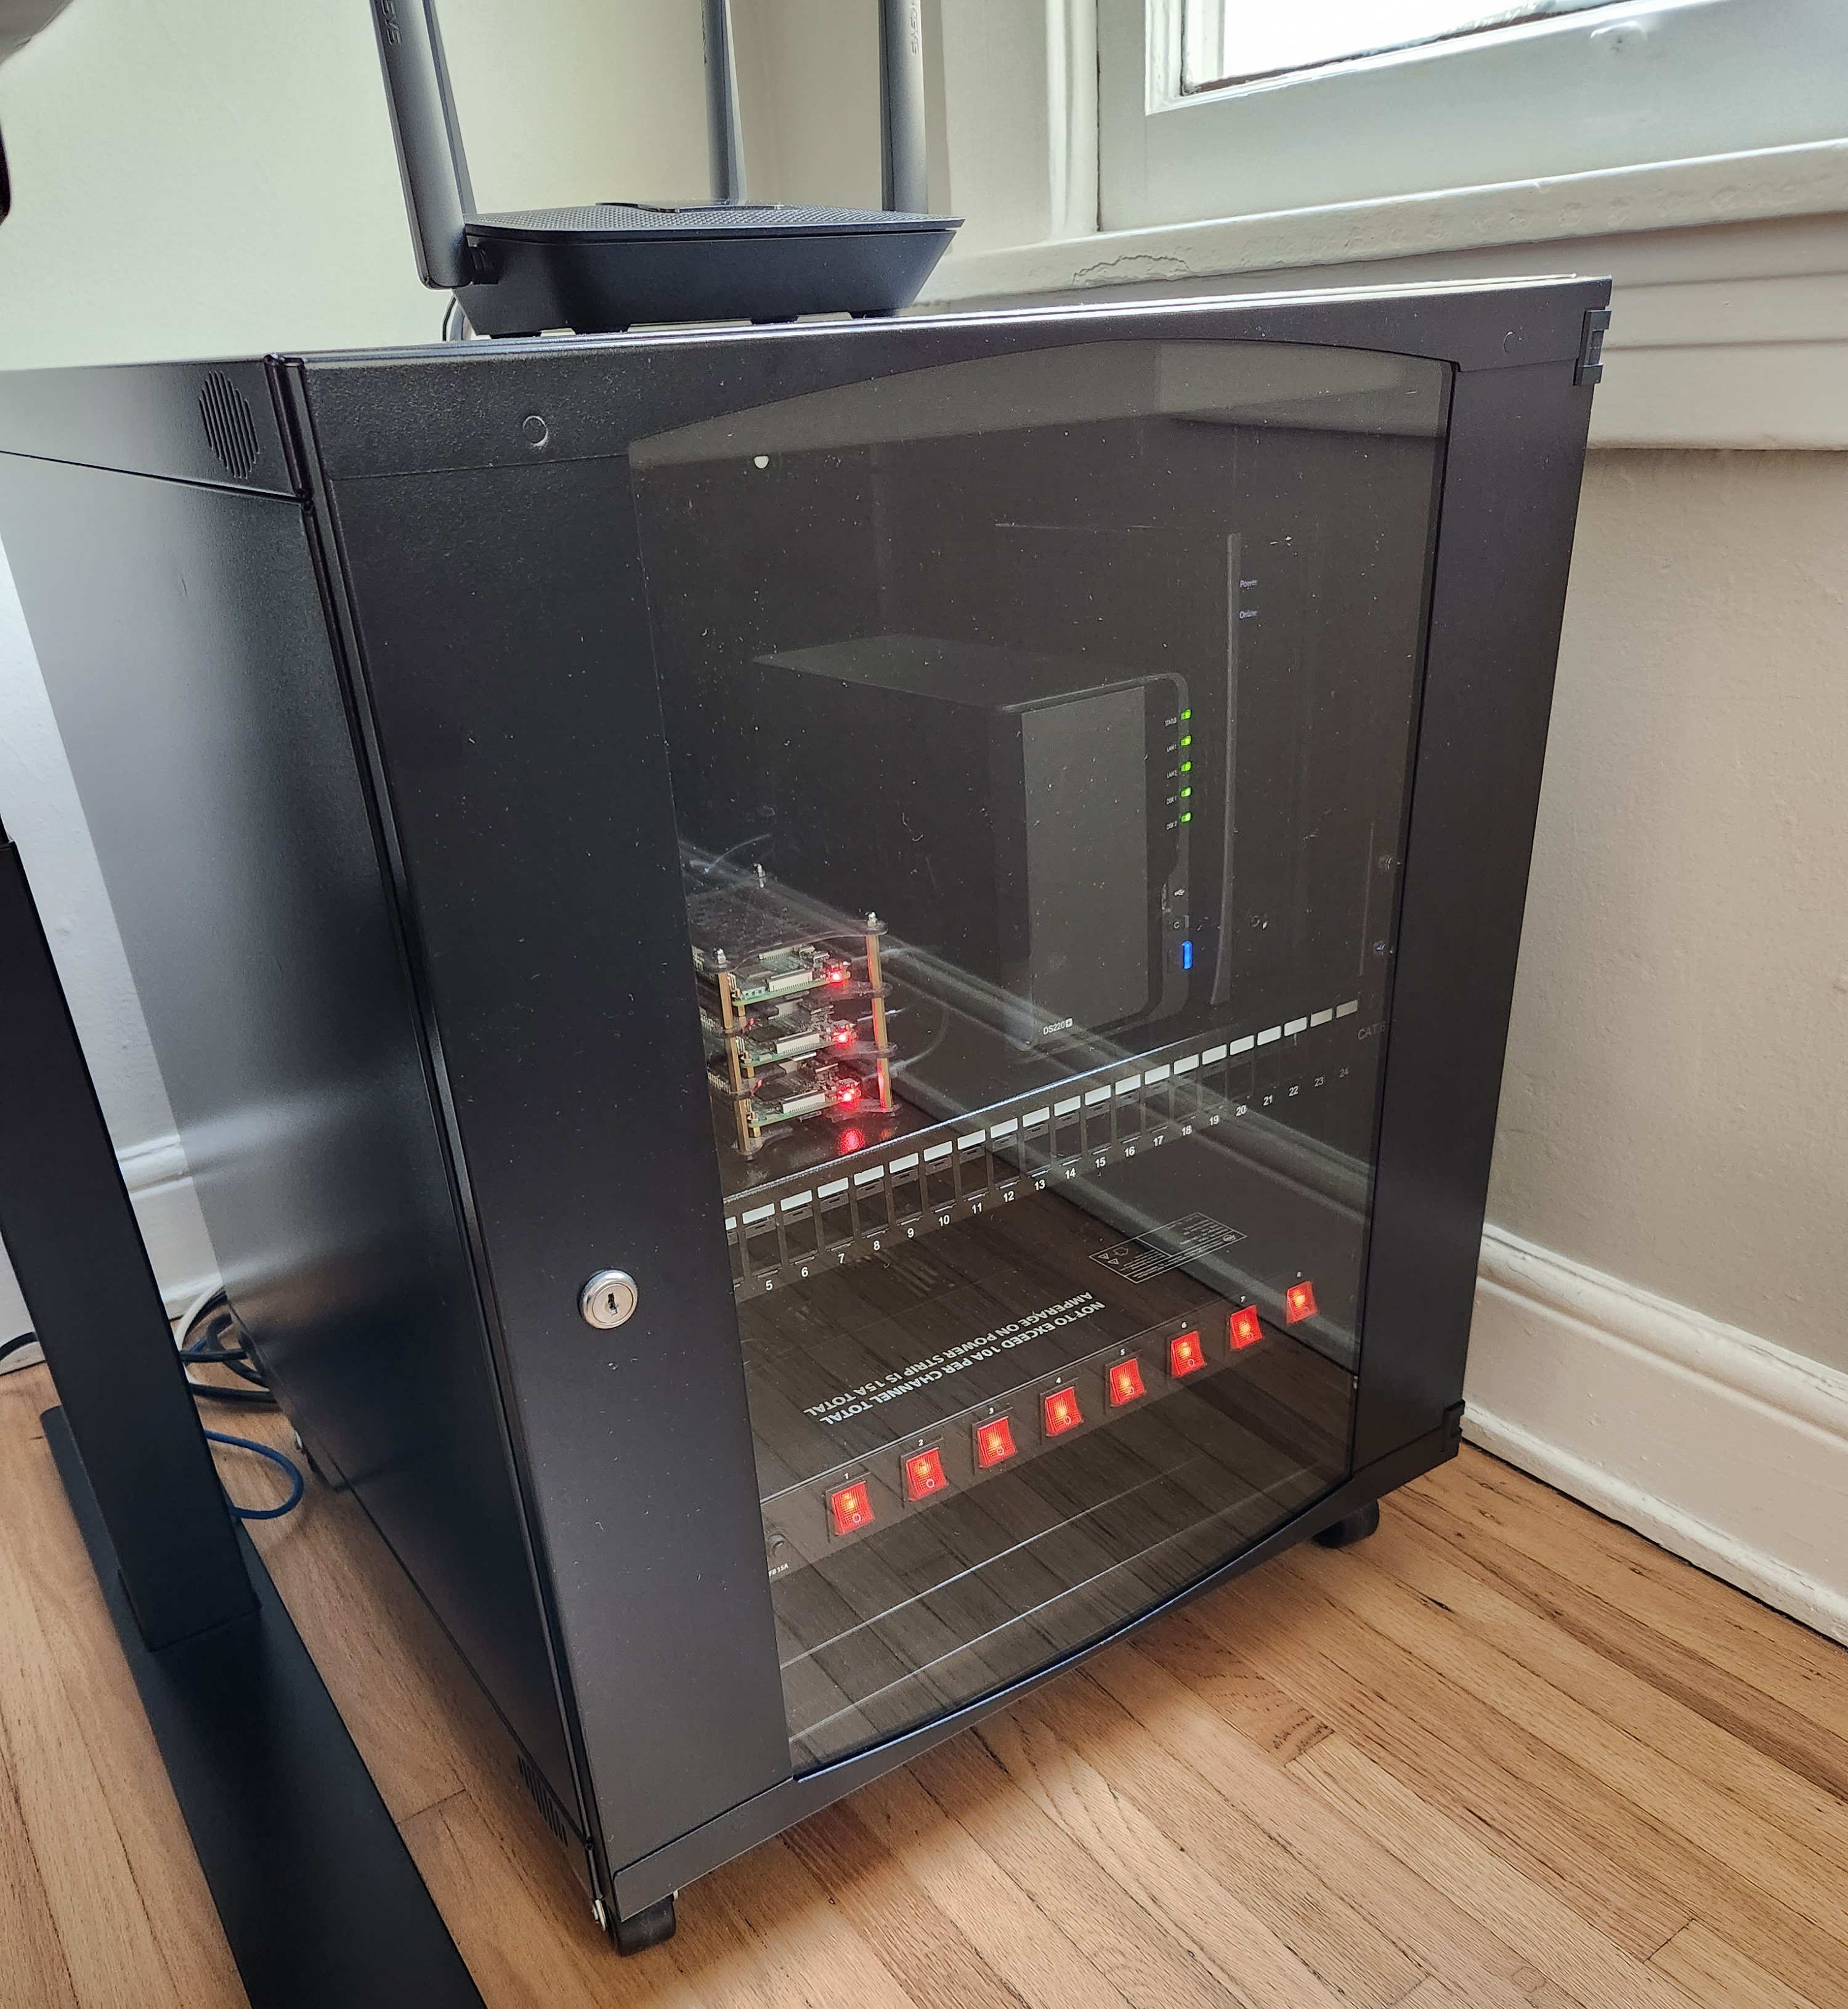
My favorite part is the key to open the front panel. Makes me feel like I have Very Important things stored in this flimsy metal box.
Here's the parts list, according to my Amazon order history:
I also got a Cable Matters 24 Port Patch Panel, but I have yet to punch down cables for everything. I'll leave that for when I upgrade my switch in the future, since I'm already running out of Ethernet ports on my dinky 8-port switch.
I also decided to ditch the ISP router and replace it with the old router I had laying in my closet, which happens to be a Linksys EA8300. It has a good ol' web page to change all the usual router settings (SSID, password, DHCP leases, etc.) instead of the mobile app garbage I had to put up with on the ISP router. The only problem with it is that the "Internet connection error" indicator on it lights up intermittently, despite my connection being totally fine. I'm not sure if the router doesn't like the custom DNS server or if PiHole is blocking telemetry requests, but the constant crying wolf is a little annoying.
Split-Horizon DNS
This was where the bulk of my tinkering has been the past few weeks. Like I mentioned in the last post, the DNS situation in the homelab is a little weird. I have a PiHole that both my router via its LAN IP address and my Tailnet via its Tailnet IP address point to, but the DNS records for all my hosts/services actually live in DigitalOcean. The DNS records, while visible anywhere to anyone, are still publicly inaccessible from outside the VPN since they point to Tailnet IP addresses.
This is a little suboptimal, for two reasons. Firstly, I'd rather not have literally anyone on the Internet be able to see the stuff I have running in my homelab. Secondly, my homelab services are only accessible via the Tailnet, even if someone is in my apartment connected to the LAN. Not much of a home lab! It would be ideal to not have to install the Tailscale app on every single device in my apartment that wants to connect to homelab For some devices, like the Amazon Firestick, a Tailscale app isn't even available. I've had to just point the Firestick at the IP/port of my Jellyfin server up until now since the IP address on Jellyfin's DNS record isn't routable from the LAN. Plus, if I have friends over for LAN parties, it would take forever to get everyone set up with Tailscale and share access one device at a time.
However, I still want to be able to access my stuff when I'm out of town or on
vacation and connected to the VPN. This presents a dilemma; I want my DNS
records to point to two different IP addresses, depending on where the query
is coming from. Good news - split-horizon
DNS exists for this exact
purpose. Bad news - I needed something a little fancier than PiHole's "Local
DNS" feature (which is basically just an interface to /etc/hosts).
In a bit of a BIND
I'd had experience with setting up BIND in the past during a class in
The class was Linux Systems Administration,
and it was easily one of the best classes I've taken in terms of real, practical
knowledge gained. Each student in the class had a VM that we installed Debian on
via TAR archives (no GUI installer!) and then we did everything under the
sysadmin sun on those machines: setting up NGINX web servers for static
websites, sending and receiving mail amongst the class' machines via SMTP,
writing PAM modules so we could log in via the university's SSO, etc.
,
but it was nothing past installing it via apt and serving some A records from
a zone file. I thought this would be a piece of cake, but it turned out to be
much harder than I imagined.
The first bump in the road came up pretty quickly; I'm running BIND on athena,
one of the Raspberry Pi 3Bs. I also wanted to run this via Docker so I didn't
have to run all over the filesystem for configuration. The Pi 3B uses an armv7
CPU, and finding a Docker image for 32-bit ARM was pretty rough. There's an
official ubuntu/bind9 image, but it only support armv8 (64-bit). There was
another BIND image with around ~5 million downloads on Docker hub
(cytopia/bind) but it seemed a little odd. All the examples used some
environment variable DSL for configuring DNS records, so I shied away from it;
I've been around the block enough times that I can predict when I'll be fighting
a configuration layer more than the software itself. I settled for the
semi-popular but unofficial image eafxx/bind. It includes some web GUI called
"Webmin" that I'd never heard of, and still haven't felt the need to touch. It
has yet to get in my way though, so I've kept it around for now.
Luckily, it turns out the BIND9 configuration for split horizon is pretty
simple. To illustrate, I'll share my (semi-redacted) config files. As is usual
with BIND, all the configuration lives in /etc/bind, with named.conf being
the top-level configuration that just imports the other configs:
include "/etc/bind/named.conf.logging";
include "/etc/bind/named.conf.options";
include "/etc/bind/named.conf.local";
In named.conf.options are the top-level options that apply to all zones:
options {
    directory "/var/cache/bind";
    dnssec-validation no;
    auth-nxdomain no;    # conform to RFC1035
    listen-on-v6 { any; };
    max-cache-size 90%;

    # end of auto-generated options

    recursion yes;
    allow-recursion {
        internal;
        tailnet;
    };

    forward first;
    forwarders {
        192.168.1.137;
    };
};

acl "internal" {
    192.168.0.0/16;
    localhost;
};

acl "tailnet" {
    100.64.0.0/10;
};
The first few lines are boilerplate that come with the installation. The
recursion and allow-recursion options allow the DNS server to make recursive
DNS requests to answer queries from any machine in the internal and tailnet
ACLs. The forward and forwarders options tell the DNS server to first
forward any DNS queries on to the DNS server at 192.168.1.137 (the PiHole) and
if those fail, then it makes a recursive DNS query. This allows the PiHole to
still block any adware or malicious domains since BIND will get a definitive
answer of 0.0.0.0 before recursing, but will also authoritatively answer for
any zone files it is authoritative for. The ACLs are simple subnet masks. Any
request coming from localhost or 192.168.0.0/16 gets the access of the
internal ACL, which represents my LAN. Anything from 100.64.0.0/10 is coming
from the Tailnet, and gets tailnet access.
The named.conf.local file is where the split-horizon takes place:
view "internal" {
     match-clients {
        internal;
    };
    zone "lab.janissary.xyz" IN {
        type master;
        file "/etc/bind/db.lab.janissary.xyz.internal";
    };
};

view "tailnet" {
    match-clients {
        tailnet;
    };
    zone "lab.janissary.xyz" IN {
        type master;
        file "/etc/bind/db.lab.janissary.xyz.tailnet";
    };
};
...and that's all there is to it! There's two "views", one per ACL, and each
view implements the lab.janissary.xyz zone. As an aside, I decided to keep all
my homelab stuff on a subdomain of janissary.xyz for a few reasons. Firstly, I
just like the domain and having everything in one place. Secondly (and this
ended up paying off, as I'll go over later), it's handly to have the top-level
domain in public DNS just in case something has a hard-coded DNS resolver or
relies on the trust and hierarchy of public DNS infrastructure.
The (redacted) zone files are pretty boring:
; db.lab.janissary.xyz.tailnet

$ORIGIN lab.janissary.xyz.
$TTL 60m

@    IN      SOA ns.lab.janissary.xyz. admin.janissary.xyz. (
     2023061301 ; serial
     4h ; refresh
     15m ; retry
     8h ; expire
     4m ; negative caching ttl
)
    IN      NS  ns.lab.janissary.xyz.


ns      IN  A   100.a.b.c
foo     IN  A   100.d.e.f
bar     IN  A   100.g.h.i
; remaining records are services proxied by traefik, which runs on the same
; host (`athena`) as BIND
*.lab.janissary.xyz.       IN  A   100.a.b.c
; db.lab.janissary.xyz.internal

$ORIGIN lab.janissary.xyz.
$TTL 60m

@    IN      SOA ns.lab.janissary.xyz. admin.janissary.xyz. (
     2023061301 ; serial
     4h ; refresh
     15m ; retry
     8h ; expire
     4m ; negative caching ttl
)
    IN      NS  ns.lab.janissary.xyz.


ns      IN  A   192.168.a.b
foo     IN  A   192.168.c.d
bar     IN  A   192.168.e.f
*.lab.janissary.xyz.       IN  A   192.168.a.b
There was a phantom issue where BIND didn't believe requests from my tailnet
were in 100.64.0.0/10, but that was exorcised by a good ol' docker-compose down --rm && docker-compose up -d. I reconfigured my router and Tailnet to use
BIND instead of the Pihole as their DNS server, edited Traefik to proxy for all
the new domains, and it was smooth sailing...
...until I realized that none of my services will be accessible via HTTPS, since I had provisioned TLS certificates for totally different domains.
If you've never had to get a TLS certificate to set up HTTPS or whatever, it can
be a (necessarily) annoying process. Prior to the 2010's push by heavy
"Heavy" meaning "has a web browser with
enough market share that your website is sent to the Shadow Realm if the browser
decides to make it a tiny bit harder to access your site when it's not running
via HTTPS". in tech to make HTTPS ubiquitous, you had to buy a
TLS certificate for cash money from a Certificate Authority. These days, the
popular way is to go through CA's like Let's Encrypt
or ZeroSSL, which are nonprofits focused on distributing
TLS certificates for free. Most CA's these days also offer automated certificate
provisioning through the ACME (Automatic Certificate Management Environment)
protocol. The way that ACME can automatically get certificates for you is
through setting up "challenges"
in which you have to verify that you, the person or entity requesting this
certificate, are the same person or entity that owns the domain that you're
trying to get a certificate for. To solve these challenges and prove ownership,
you need to either point your domain to a web server that spits out a token when
queried by an ACME client, or create a magic TXT record on the domain that an
ACME client verifies. Thankfully, some reverse proxies like Traefik or
Caddy will even automate your half of the work.
Traefik has an ACME client with a bunch of different "providers" for each of the
big names in DNS - NameCheap, GoDaddy, Cloudflare, Route53, etc. - that
integrate with the respective registrar's API to create the magic TXT record
that the DNS challenge verifies. Before this BIND adventure, getting TLS certs
for all my stuff was as simple as handing Traefik my DigitalOcean API key and
hanging out for a minute while the certificates were signed. Now that all my
domains are outside of DigitalOcean and living in the BIND server, I had to do
this myself.
I first tried configuring Traefik to use the manual ACME provider instead of
digitalocean. Instead of Traefik creating TXT records for me automagically
under the janissary.xyz domain in DigitalOcean, the manual provider just
logs in stdout what it expects to see in the magic TXT record when it queries
DNS. This should be an ezpz task - it's a one-line change to add a TXT record to
the BIND zone files - but I kept running into a mysterious error message
whenever Lego (Traefik's ACME client) tried
querying BIND:
acme: error: 400 :: urn:ietf:params:acme:error:dns :: DNS
problem: SERVFAIL looking up TXT for _acme-challenge.foo.lab.janissary.xyz
This was a real headscratcher. I was able to query the TXT record and see the
secret just fine with dig, nslookup, and any other tool I tried. I also
triple-checked that Lego was pointing at my BIND server when making DNS queries.
I was even surprised to find out that querying over TCP instead of the usual UDP
worked out of the box when I tried dig +tcp for the first time, so the
transport protocol wasn't the issue, either. The record was definitely there at
the IP address the Lego was looking at, but for some reason it was getting a
SERVFAIL when every other DNS client I tested was working just fine.
The error message does make my Spidey Senses tingle - 400 is an HTTP status
code, and the URN stuff is something I've only
I'm not ruling out that I could just be
ignorant, though. I thought it was just an artifact of the Internet of
yesteryear; the only stuff I could find when searching "urn:ietf" was a few old
RFCs.
when making calls to HTTP APIs. It dawned on me that Lego could by trying to
make a DNS over HTTPS (DoH) request, and it was failing since I only have
vanilla DNS set up. That turns this into more of a chicken-and-egg problem,
though. How could I get a TLS certificate for my domain, when the ACME client is
challenging my domain over HTTPS (which requires TLS)?
I'm still not 100% certain that's the case, anyway. I poked around in in the
Lego source code bit, and from what I can tell it looks it sends DNS requests
via UDP by default
(GitHub).
I decided to cut my losses before diving into the Traefik source code to see if
it was sending queries differently (if that even was the case, I didn't want to
go through the hassle of setting up an ad hoc HTTP server anyway). In the end, I
ended up compromising and going back to the digitalocean provider. Luckily,
Traefik allows you to manually set the DNS resolver for ACME challenges, so I
pointed it at 1.1.1.1 (Cloudflare's public DNS server). Since I don't have an
NS record for lab.janissary.xyz in public DNS, Cloudflare (and all of public
DNS for that matter) has no idea that my BIND server is authoritative for
lab.janissary.xyz within my homelab. This allows Traefik to use public DNS and
DigitalOcean's API for doing all the ACME stuff, but it still uses the
LAN/Tailnet DNS when it comes to resolving domains for homelab services. One
upside to sticking with the digitalocean provider is that it's totally
automated. Were I to have been able to figure out the manual provider, I still
would have needed to make a new TXT record every time I needed a new certificate
(or come up with a clever cronjob to do it for me). I'm lazy, so I'm happy to
let the kind computers at DigitalOcean do the work for me.
That was a whole lot of effort to end up so close to square one! 😵💫
Regardless, I can now use HTTPS to access Jellyfin, Calibre, Deluge, etc. I also
no longer have to add a new DNS record for every new service I stand up. The
wildcard domain for *.lab.janissary.xyz points at Traefik, which will proxy
any new subdomain of lab.janissary.xyz. All I'll have to do is edit Traefik's
provider.yml file to add a new redirect, and I'm good to go.
Further Work
As I mentioned previously, I still have yet to punch down CAT cables for the patch panel. I might also get a new Ethernet switch, since I'm really running out of space on the current 8-port one. I would also like something that I can mount onto the rack, since space on the rack shelf is at a bit of a premium with the NAS, ISP modem, Raspberry Pis, and a tangle of cables all living on it.
I also hate to say it, but running everything on RasPis is starting to be a pain. For any software that likes to snarf up memory, running on one of the 3Bs is out of the question (they only have 1 gig of RAM). Anything that needs hardware acceleration (like non-compatible video codecs on Jellyfin or converting eBook formats on Calibre) is also typically hard to get working. Lastly, finding official/non-sketchy Docker images for ARM is always a gamble. 64-bit ARM is certainly less so, but nothing beats amd64 in terms of ubiquity. I'm wary of getting any serious hardware that's too loud or power-consuming however (the rack is literally right next to my desk in my office, nor am I made of money), so I might be on the lookout for something smaller but still beefy enough to run Proxmox and a few VMs.
Anyway, that's all for this update. See you next time!